Rim preperation. Desperate for help

drnh

New member
Guys please share your knowledge and help me out please.

I've been tidying up some wheel recently and although my paint and lacquer finish is looking good i'm struggling with the prep. This is letting my finish down.

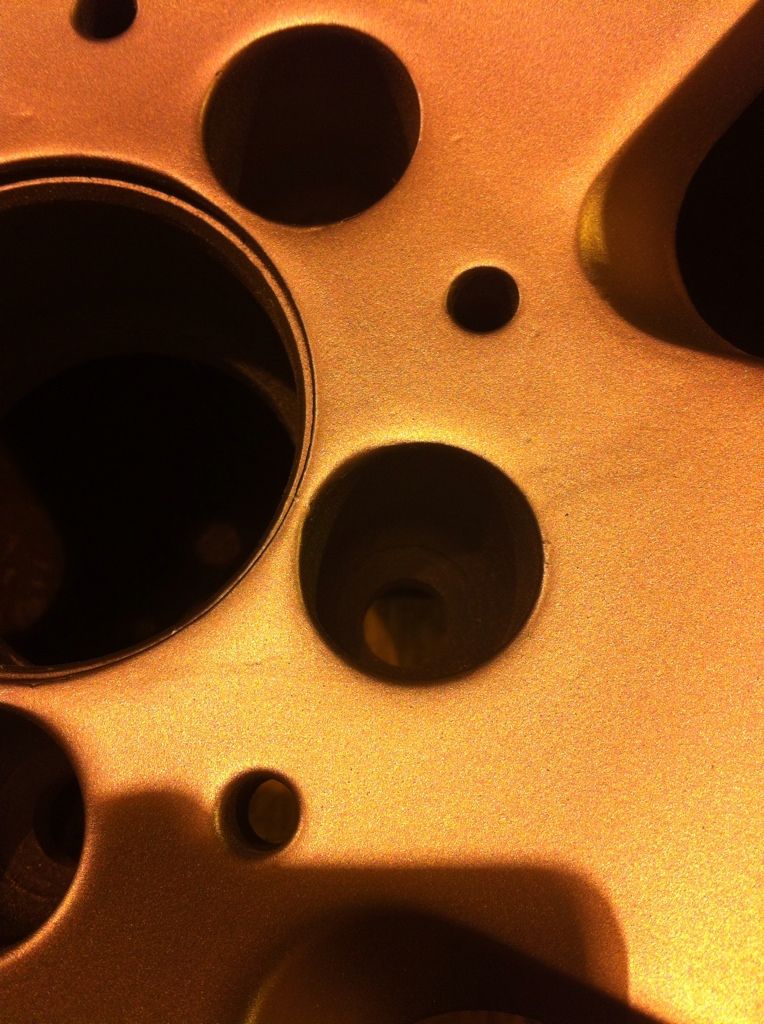
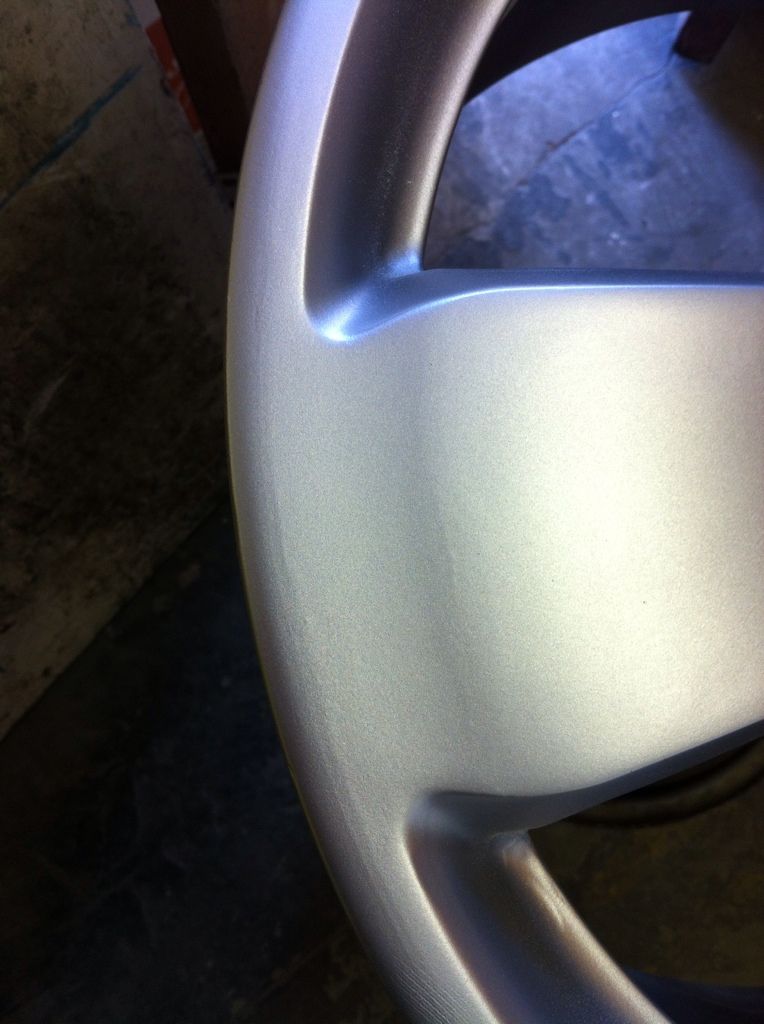
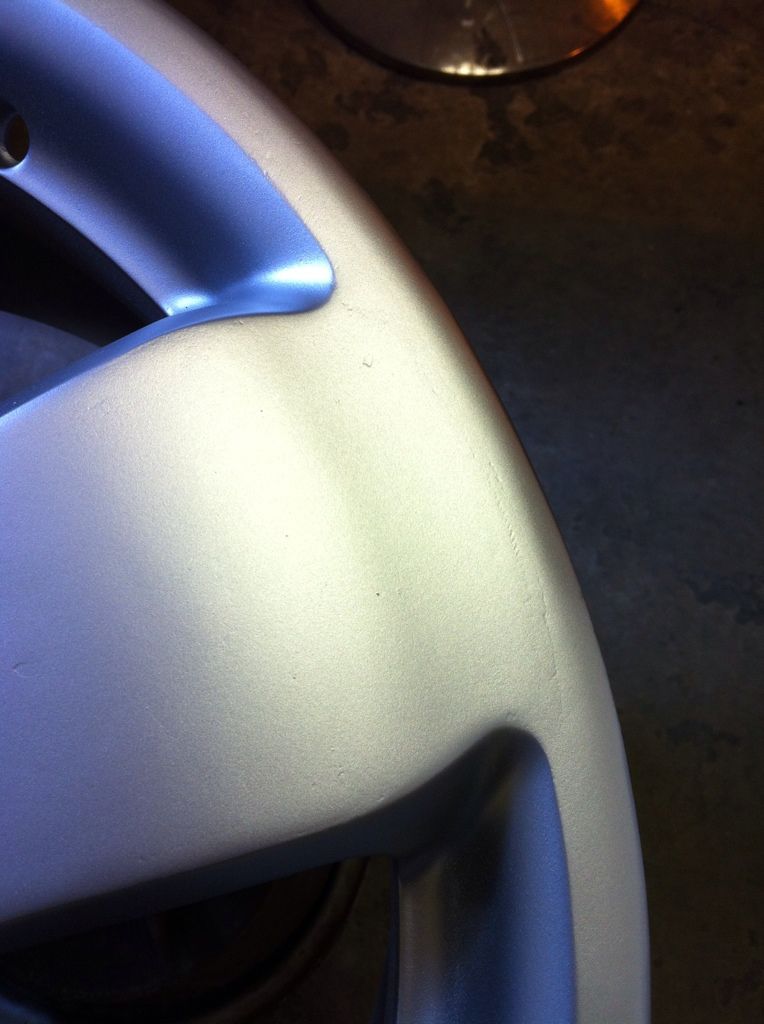
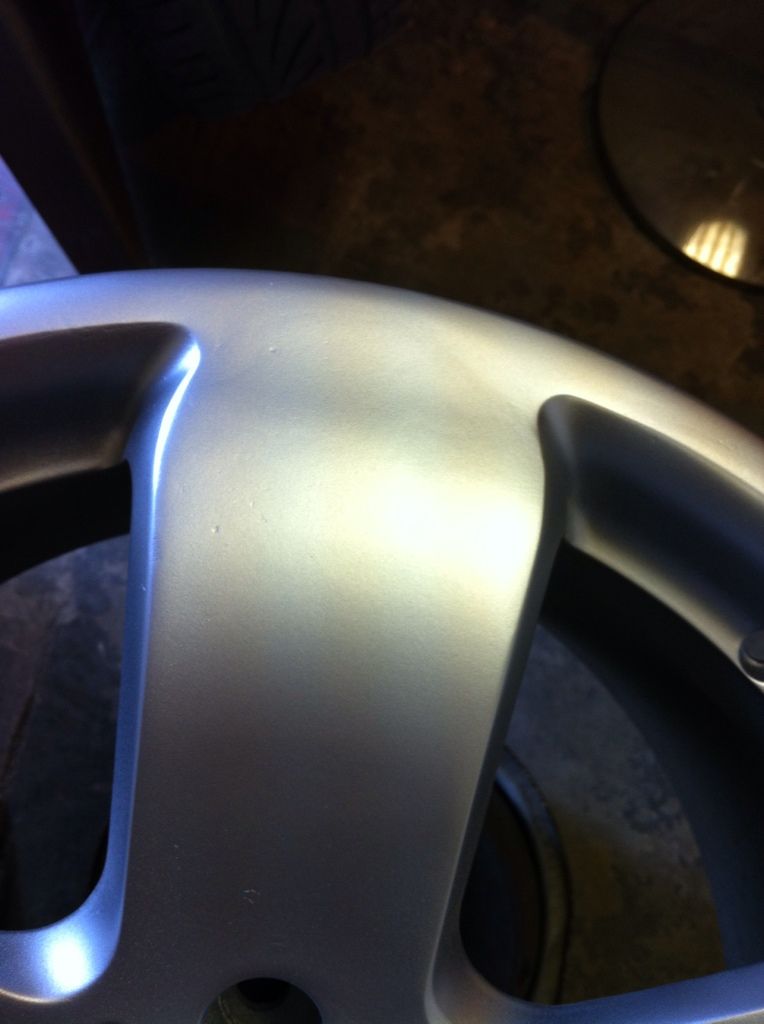
At the moment i'm doing a set of badly curbed and marked thick 5 spoke wheels. I've had to take parts down to bare metal and sanded them with upto 1200grit so they feel smooth to the touch and where these parts meet the sanded paint/laquer it feels smooth.

The problem is when i use primer, which is hi build the impefections become extremely apparent, even though i cant feel anything before primer?

Can anyone please help me with prep instructions for rims? Should i not take them down to bear metal in areas? Ideally if someone could post up instruction videos or any hints and tips that would be so helpful.

Thanks
Very much for your help and time
Also if theres any products to use that would help
 

TAZ

Administrator
Staff member
Hello and welcome to the forum.

When you say 'imperfections', what imperfections are you talking about?
As soon as the surface is down to bare metal, you shouldn't have any imperfections, or is it the curb rash you are talking about? Let me know...
 

drnh

New member
Hi Taz and thanks for your reply.

I'll try better to explain although I think I'll take some photos.

These wheels had deep marks on the rim edge and in the centres of some spokes so only areas have been taken down to bare metal. Maybe best to describe is as an uneven surface now even though I couldn't feel anything at all. When the primer is applied its buliding thicker areas, looks almost like crop circles of that explains it better.

I've tried to apply more primer just to the dipped areas to build them out which is working but it's so time consuming and using so much material too.

Just need tips on best practice for preparation really for next time I do any ie should I have smoothed the surface, used a filler and smooth that back instead.

Thanks Taz
 

TAZ

Administrator
Staff member
Sounds like you only took the bad areas that has gouges down to the metal and not the complete week? If so, sounds like you you would need to prime the spots, sand them ,then apply any flowable putty to the bad areas, then reprime again.

OR, 'feather' the edges of the spots better.

Maybe if you posted pics, that would help me better understand.

Also, what material are the wheels (alum, steel...?) I assume parts of the wheels were powdercoated before?
 

drnh

New member
Taz thats exactly what i did. These were the worst wheels i've tried to do with the largest surface area so it show everything up. I didnt realise they would show up quite so badly though as i really couldnt feel anything by hand. I did try and build the low spots back up by just applying hi build primer to those areas which worked to some degree but way off perfect. Whats a flowable putty? Is that just like E Tec alloy filler?

I've now masked off the worst areas and put a thin coat of filler over those. My main problem is knowing when the surface is level again as the low spots are so shallow. Would you advise sanding them as smooth as i can and applying a guide coat over the primer to help? Feathering them is extremely difficult to judge when its right for me....everything felt completely smooth and level to the touch.

The are alloy wheels and yes they wee painted before. Not powder coated though.

Its definately a good learning experiance this set and has prooved to me that less is more.

I've added some pics.

Thanks again Taz for all your help.

e1f9f144.jpg


e2ce7ac9.jpg


85e50034.jpg


9a289f45.jpg
 

TAZ

Administrator
Staff member
These look minor, so What I would suggest doing, is just getting a piece of 800 wet, then a 3M soft block, and westand all the bad spots out. Once you do this, you should be able to apply 2-3 coats of silver and you should be fine.
The key is to make sure they are all out.

Next time, what I would do is, sand the wheels, prime them with the hi-build, guide coat them, sand them, then any areas that still have imperfections use the flowable putty. Then spot prime the wheels, resand. Then paint them.

2 keys would be...
1-guide coat them, which means use a very light coat of black over the wheel (or were the imperfections are). That way, when you sand them. any bad or low areas will remain the light colored black. When I say light coat of black, I mean a VERY light coat.
2- Any of these imperfections can be filled with the flowable putty. I use 3M 05824. Basically a bondo type product that has a lot of polyester, so it flows and sands very easy.
 

drnh

New member
Taz you're an absolute star. Can't thank you enough for all your advice.

Can I just ask, which 3m soft block do you mean? I've seen a few options of those.

Also I've ordered some U Pol guide coat dry powder. The low spots will show darker won't they? Do I rub all the guide coat off to render it a level surface? Sorry, not quite sure how to best use a guide coat.

So next time I guess it's best to fill curbing marks instead of trying to sand out. Do I fill these after I prime the wheel?

Thanks again Taz
 

TAZ

Administrator
Staff member
I'm not for sure of the part number, but once side is black and the other is gray. Black side is a tad bit harder/firmer.

You should use the high build first. guide coat it, sand it, Then apply the putty over any real bad spots that didn't sand out.

You could just sand the bad areas and add the putty, sand it flat. THEN apply the primer if you wish. This would save time and materials.

Also, instead of using the guide coat powder, you can just use an el cheapo can of black spray can.
Put it on very light though. Just enough to slightly tint the primer.
 

drnh

New member
Taz

Your advise worked a treat. The wheels look much better now. Just wish I could have got hold of flowable putty but a thin coat of normal filler and sanding it back, not perfect but looks a lot better.

Thanks again buddy for everything!
 
Last edited:
Top